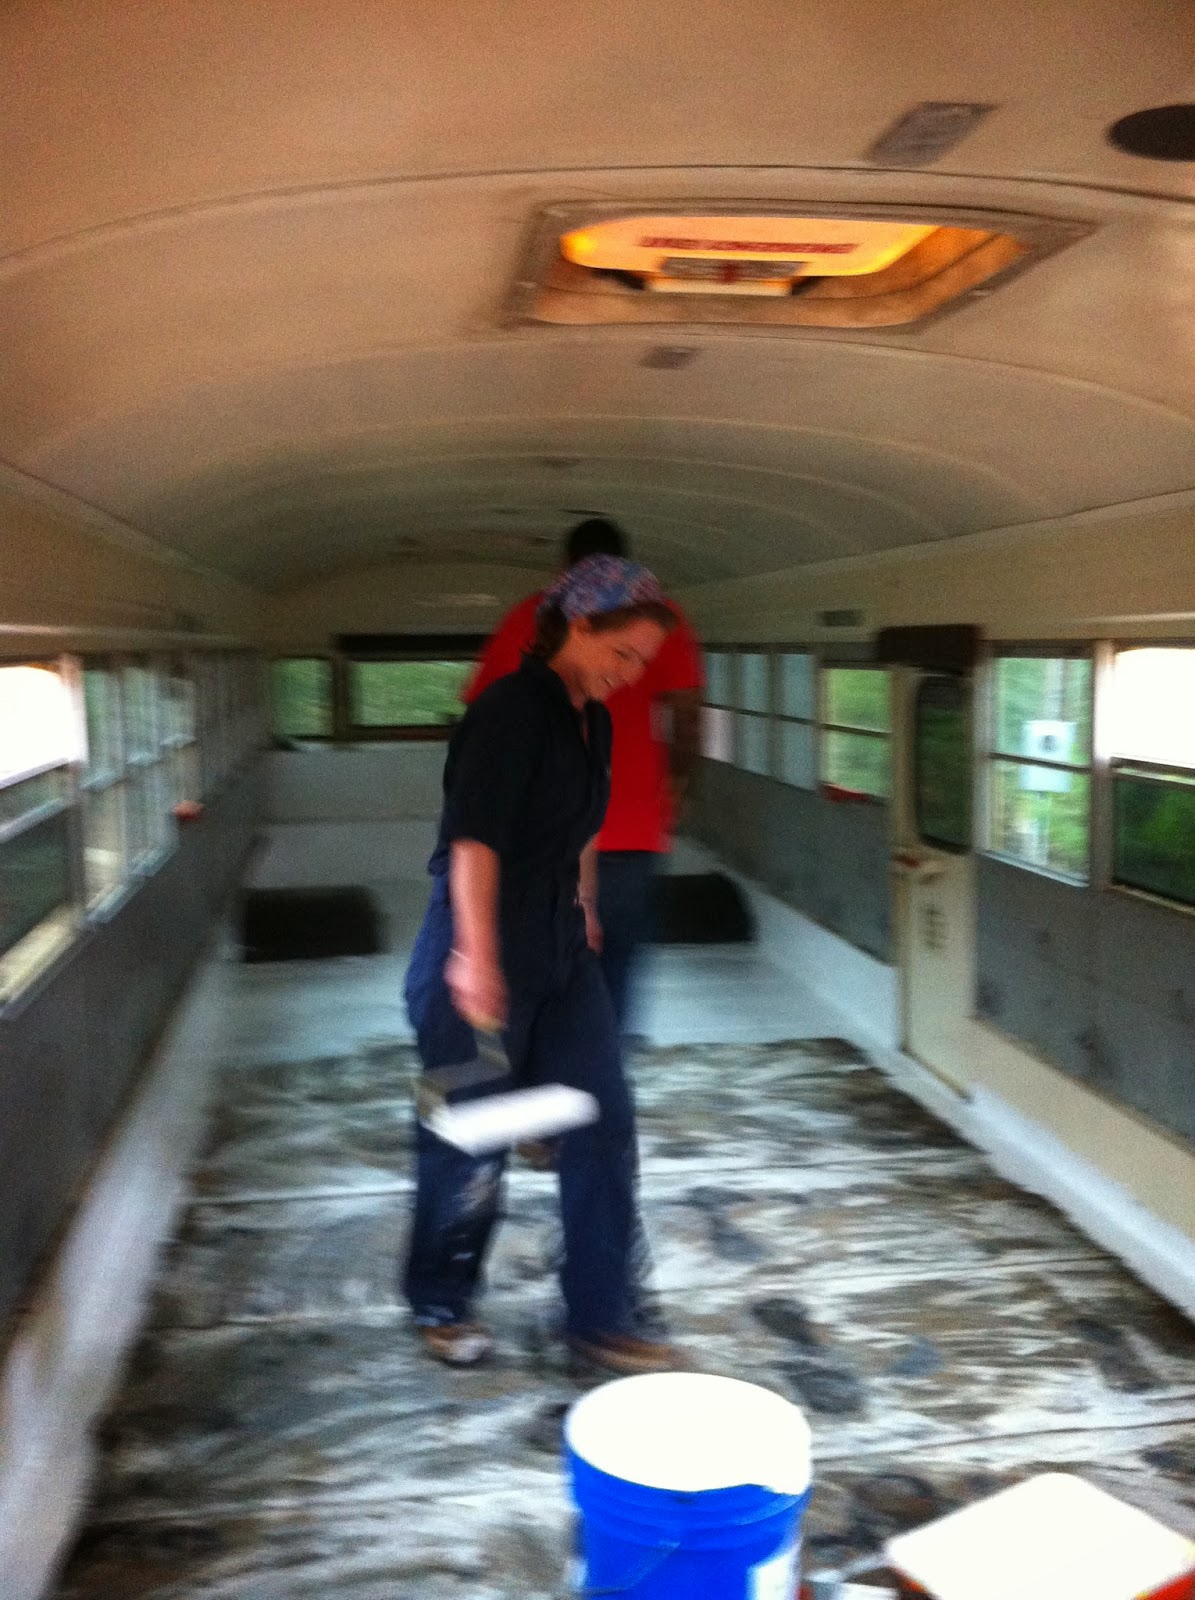
Work days 7 & 8 were all about getting the floors painted with Buskote (insulating and sealing paint) and ready for the replacement floorboards & insulation. We decided to go ahead and take up the steps, too. Robbie pulled the flooring off, knocked some of the worst rust off with the sanding disk, and treated them with Rustex.

 |
| Pretty rusty |
While he worked on that, I got started with the Buskote in the back of the bus. He jumped in after finishing the steps. This went on pretty quickly, but we had to let it dry for the night before we added any more coats.
 |
| Not a great pic, but easy to see contrast btw floor & Buskote |


 |
| finished first coat on floor & side walls up to the lip |
 |
Be sure to wash brushes out good--that stuff is THICK!
|
Work Day 8
Next day, we arrived at the bus to find a beautiful little bouquet of daffodils fresh from my Nana's garden. She said we needed something pretty to look at after all of that dirt and rust. Ain't that the truth! Thanks, Nana :)
 |
| We love working out there <3 |
The steps looked nice and marbly like the floors had the week before, so Robbie swept out the black dust, and those were ready for Buskote.
We found the floors still a bit tacky & full-on wet in a few spots where the paint was particularly thick.
Since they needed a little more dry-time, we decided to take advantage of the sunny day and check out the roof. There are two spots in the back of the bus (on both side walls) that were wet and rusty, and we had covered that end of the bus with a tarp until we could go up and hunt down the leak. So, with a little time to kill, we (and by "we" I mean Robbie) climbed up to the roof to check for any obvious leaks. He did find a bad caulk job around the rear emergency hatch. He added a new caulk seal and we covered it back up; we'll tackle that job another day. Back inside, we decided to go ahead and put a coat of Buskote all the way up the walls to the window bottoms (hey, why not?). By the time we did that and ate lunch, the floor was ready for the second coat.
 |
| first coat |
 |
| future bedroom/loveshack |
 |
| back bench & walls getting a coat |
 |
| Robbie wants YOU! (to come help us paint) |
 |
| gratuitous selfie |
Depending on how it looks when we return for the next work weekend, we will either put on a third coat or start laying down the insulation & wood floorboards! (Exciting, because once those floors are replaced, the FUN BEGINS!)


