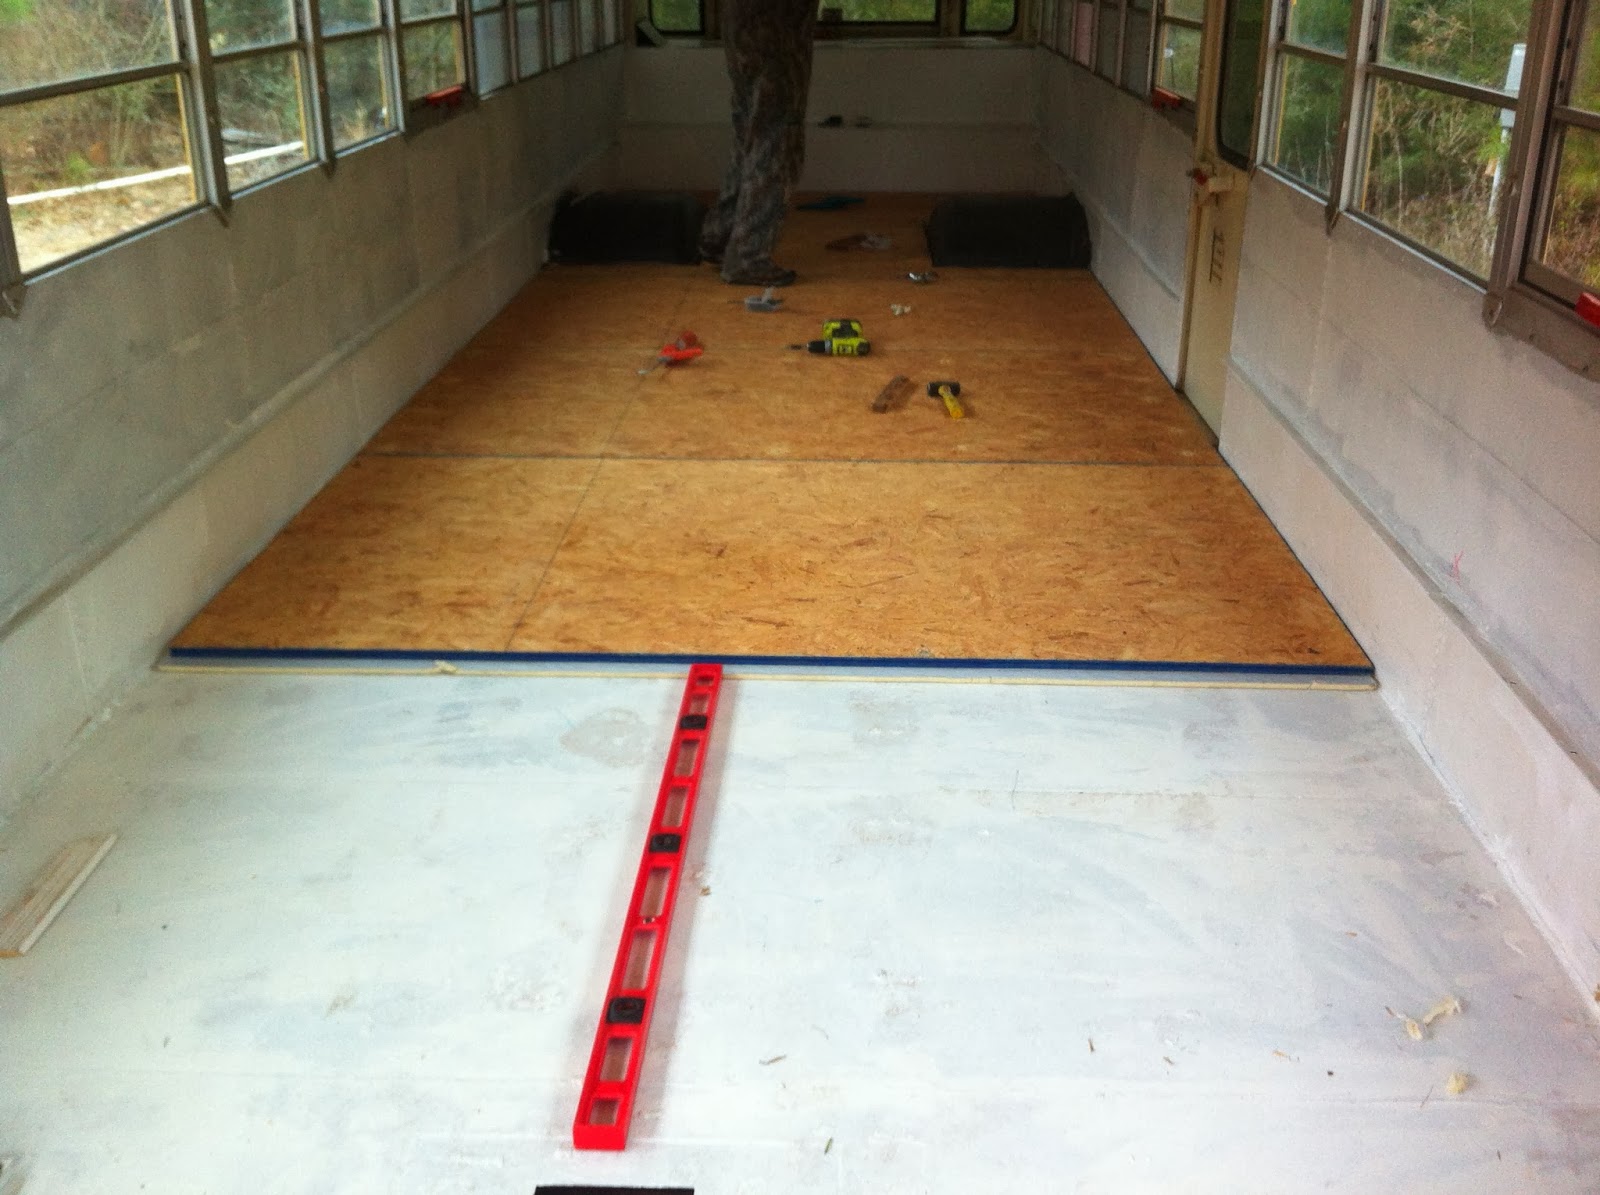
We spent Work Days 9 & 10 finishing out the subfloor. This is the main bit of restoration that we have to do before we can start building. Once this is finished, we can finalize the floor plan! We started the day Sunday with a trip to Lowes for supplies. We got 8 sheets of tongue-and-groove subfloor and 15 sheets of 1/2 inch insulation (for the floor, walls, and back 'bench' covering the engine).
 |
| Thanks to this guy for the help! |
 |
| tying it all down |
 |
| Robbie & Pawpaw (the supervisor) |
 |
| a good look at the metal floor with Buskote |
 |
| cutting off the bottom of the rubber wheel-well covers |
 |
| something we should've done earlier |
 |
| Starting at the back |
 |
| First piece of insulation going in! |
 |
| Oops! Almost forgot the liquid nails |
 |
| 6.5" of the ends to make each piece just shy of 7.5' (that extra little bit off needed to clear the lip along bottom of the wall) |
 |
| Robbie started out pre-drilling the holes outside... |
 |
| "Just taaap it in.." |
 |
| ..eventuallly, he started just drilling all holes inside |
 |
| First day progress |
 |
| Counter-sink |
Sunday, we got to start the day with all of the straight pieces that needed just the one 6 1/2" cut.
 |
| I cut pieces while he screwed down the previous ones |
 |
| Using the framing level to mark spots to sink the screws |
 |
| This was interesting to contend with... |
 |
| …The metal lip around it was removable |
 |
| the finished product |
 |
| All covered up (Robbie used grinder to cut off top to make room for the extra flooring height |
 |
| lots of measuring... |
 |
| …and sketching |
 |
| getting there! |
 |
| This hole (access to fuel tank) also had to be dealt with..Luckily, Robbie had a brilliant idea.. |
 |
| First, we laid down the insulation, uncut, and put down the sub flooring, cut. |
 |
| Used box cutter to cut out insulation (a little inside the wood) |
 |
| Here's what it looks like with insulation out |
 |
| Insulation back in, covered in liquid nails |
 |
| Wood door pressed down over liquid nails, aaand…. |
 |
| …Presto!! |
 |
| We cut these at 90 degree angles to save time and effort, and filled in the space with small pieces of insulation. Ultimately, furniture will be built over these. |
 |
| Smaller pieces of insulation going up onto the walls with liquid nails |
 |
| Propped some board scraps to hold pressure |
 |
| small area in front of stairs still left to do |
 |
| We cut a piece out of a scrap from the back wheel-wells |
 |
| This is how we left it at the end of Work Day 10 |
The next time we go out to work will be Spring Break, so we'll be able to get in more work days than usual. That week, we hope to finish the inside insulation, finalize the floor plan, prep the roof for Buskote (sanding, cleaning, removing & replacing caulking around emergency hatches), and hopefully get a couple of layers of Buskote on the roof! As for today, WE HAVE A FLOOR!
Update ya later!


