Tuesday, September 9, 2014

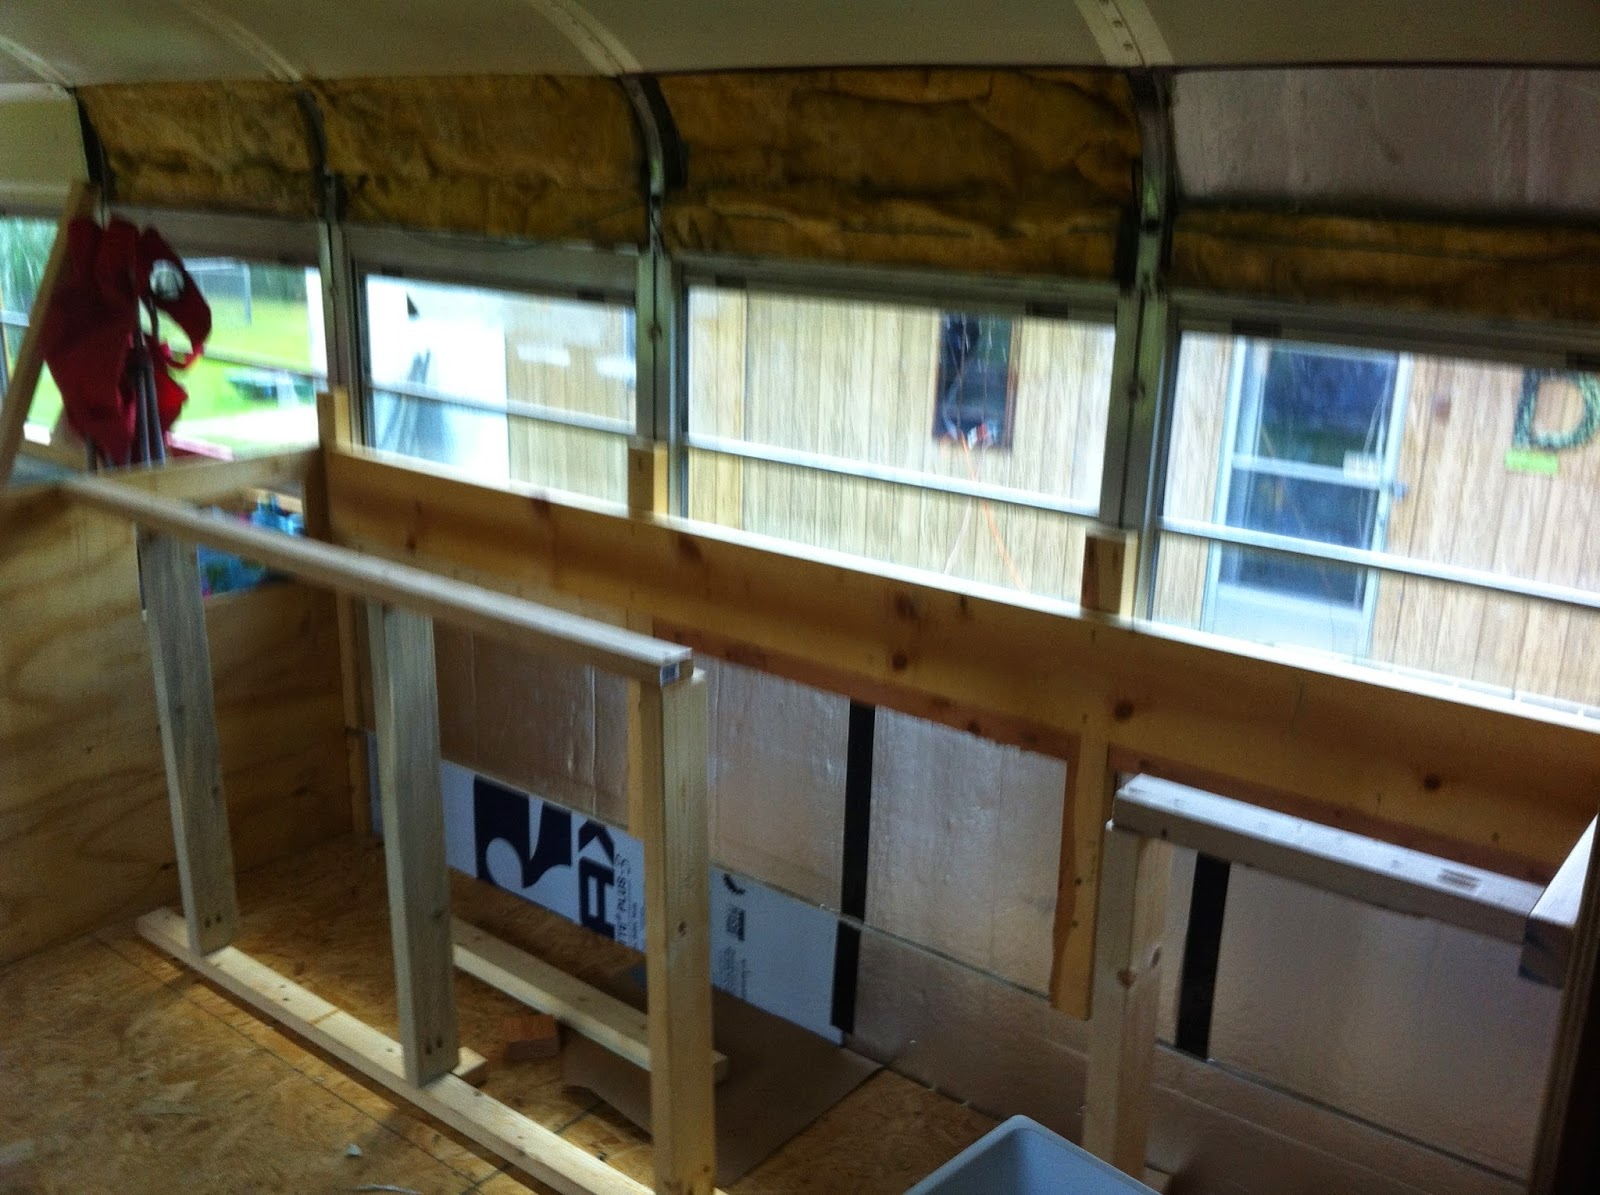
Framing out the kitchen space


We began building out the kitchen space with a "dinette bench."  This will have 3 seat sections that can fold out to make different sitting configurations, including a bed and booth-style seating.  The table will be stored in a space behind the bench.


Tricky angle, but nothing Robbie can't handle ;)


Instead of seats that raise to reveal inside storage (like the living space couches), this bench will have 8 pull-out drawers in the front.
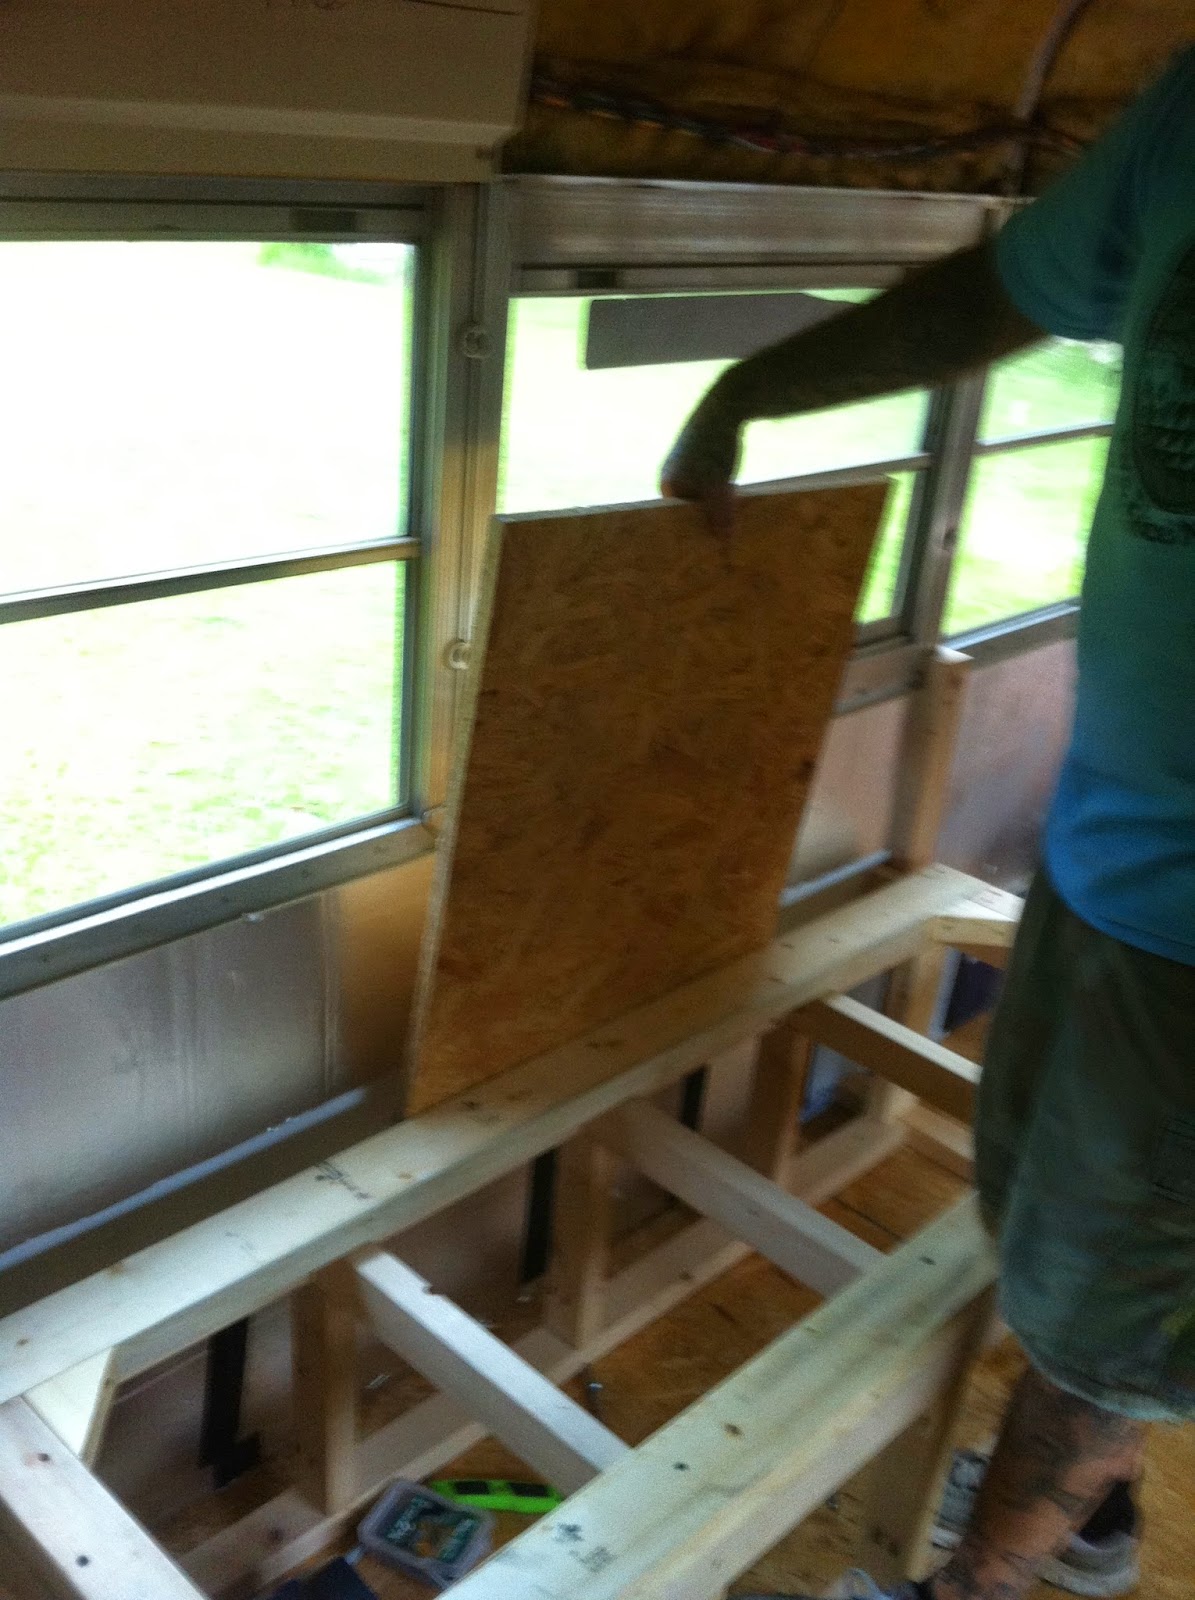


These two pics show the storage space for our future table.  It will be a 4x4' that folds in half into a 2x4' table that will slide in, hidden, behind the bench.


Later, we finished the kitchen space framing with a long countertop/cabinet space that will have stovetop, microwave/convection oven, and sink.  Underneath, we will have the water tank, pump and heater, along with storage for whatever else we can fit!
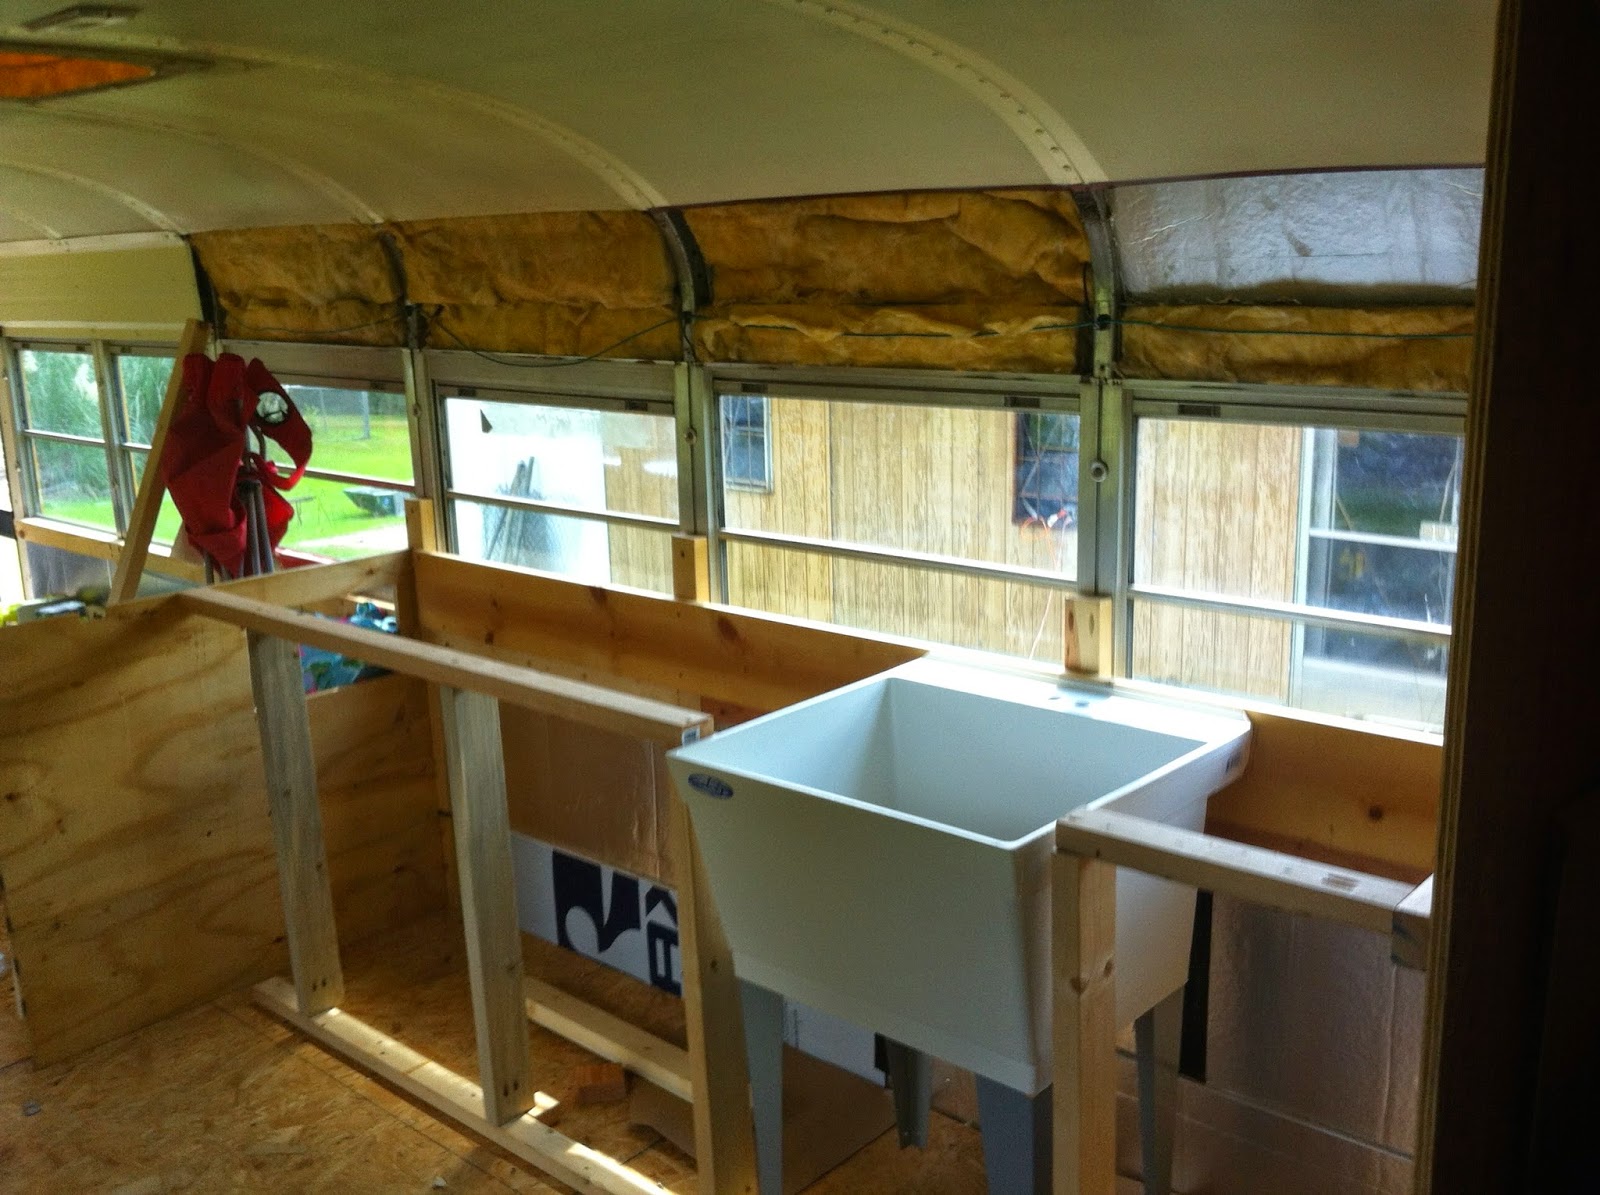
making sure the fit and placement are right!


Starting to look like a house in here!


That's all for now, guys, thanks for stopping by!

Tuesday, August 26, 2014

Framing out the living area


The goal for this work weekend was to get the storage couches in the living area framed out. We started with this wall which marks the separation between the living and kitchen areas.  From this point to the folding door will be the big couch.  (That hole will eventually be access to our recharging station & small storage space.)


cutting out the insulation 


We plan to build a cubby here in the side of the couch facing the doorway


Love our trusty Kreg jig!


We ran a 2x4 like the one in the back around all sides to support the hinges and seats (to come)...


A piece of scrap wood on top will serve as a temporary seat for now

grown man stretched out comfortably


And a smaller love seat opposite the big couch, behind the driver's seat..


 Finally, we added these little supports for, well, extra support...


Well, it still looks like a work-site for now, especially with the insulation doors closing off the back, but I can see the potential unfolding...slowly but surely...


...Until next time!

Monday, August 11, 2014

Building the walls


Our floor plan involves only a few tall walls that will separate the bedroom from the main living area, with the bathroom/closet space in between.  It's not pictured here, but I made a paper template  from sturdy brown paper that we used to make the curve on each wall.  We started with the wall closest to the side door.


brown paper cutouts the size of the shower & toile
The backside of this wall will be the shower space


 We used the Kreg jig to attach the walls directly to the wooden window panels and the floor.


Feeling pretty proud of our very first wall..


The second wall to go in was opposite the first one and forms one of the bedroom walls.  We attached the bedroom walls directly to the rear wheel wells.


TWO WALLS!!

view from the bedrooms


 Added a small cross wall to close in the shower space..


looking into the shower..


View from the bedroom


These will be pantry and laundry spaces (counter tops & shelves to be added later).


All 5 1/2 walls looking back from the front of the bus..


Finally, we decided to add these little brackets for added support until everything is trimmed & finished...