Thursday, February 20, 2014

Rust Bustin'

Work Day 5:  This weekend, we continued our work on the bus floors and Robbie completed the job of re-routing the radiator hoses under the bus (they originally ran inside the bus along the driver's side wall).  We still had a lot of rust to get up with the wire brush, so Robbie got started on that right away.


Beware of the rust dust!  It can make you feel like shit.  Take our word for it.

Open all windows and use a fan

…& definitely consider safety glasses and a mask..


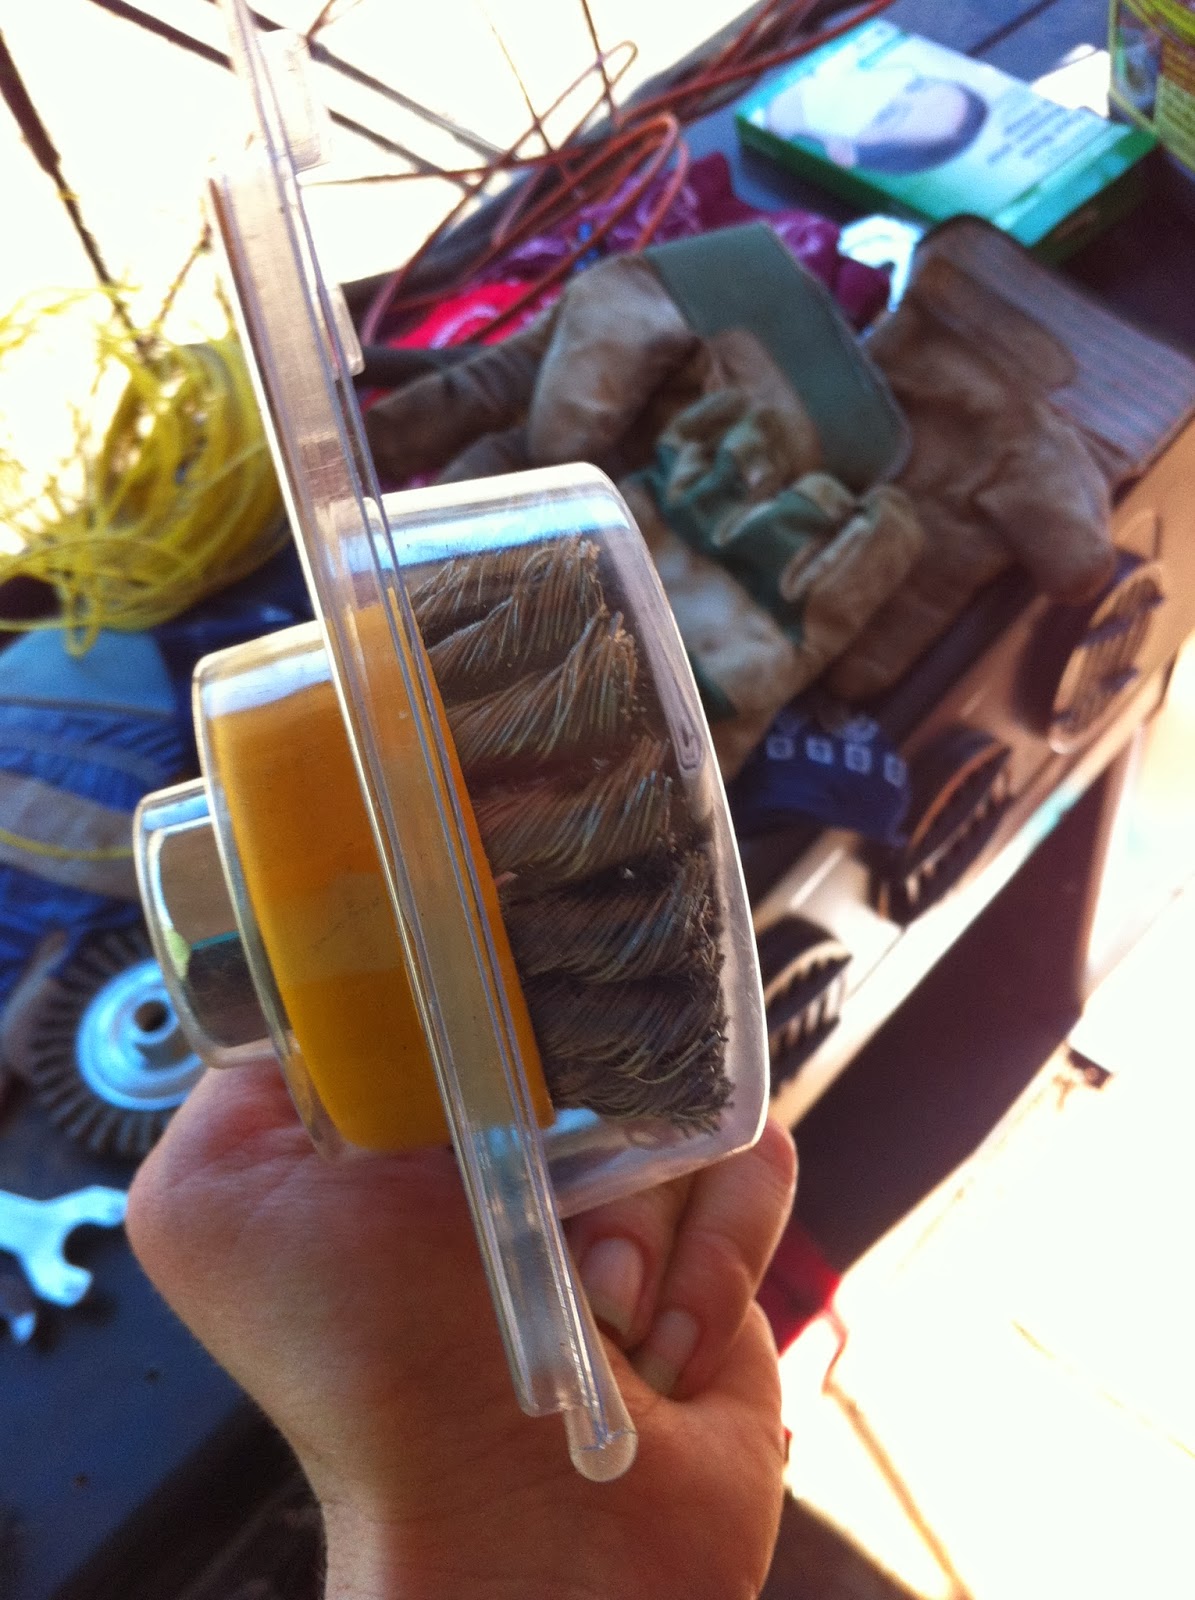
We used this kind of wire brush attachment


While he did that, I came behind him and applied Rustex (a chemical which stops the rusting process).


It goes on very thin, like water

gloves are a must


you could see the reaction happening right away (bottom of pic untreated)

you can see the freshly applies Rustex bubbling in the bottom of this pic


area around the broom is untreated
 We had to leave the Rustex on over-night, so we wrapped it up for the day.


Work Day 6:
day after the treatment..
The next day when we got to the bus, we could see a difference in the rust on the metal floor right away.  It was mostly white and marbled and there was a lot of black dust to sweep up.  We decided to caulk all of the holes and cracks (I went overkill and caulked all seams as well) to give us a little more of a seal from Mother Nature.  So, I took care of that after the floors were swept.


While I was working inside the bus, Robbie was outside and under it, completing the transfer of the radiator hoses from inside out.  This process was a little too complicated for me to describe, so Robbie will post some pictures and explain what he did in far better detail than I ever could.  For now, I will just share a few pics..


hanging the straps on the conduit

use the strap as a template for where the screws will end up

I think his foot is an important part of his technique
I had to move this first run in closer to the frame, this kept it away from the wheels

Under the bus!

both pipes mounted with the straps

hooking the new radiator hose pipes back in to the system

Next week, we plan to coat the newly treated and caulked metal floors with Buskote insulated paint.  Then, we will be ready to put down the insulation and new wood flooring! It will be so nice to finally have the inside sealed up & moisture-free.


…a few more pics of work days 5 & 6:

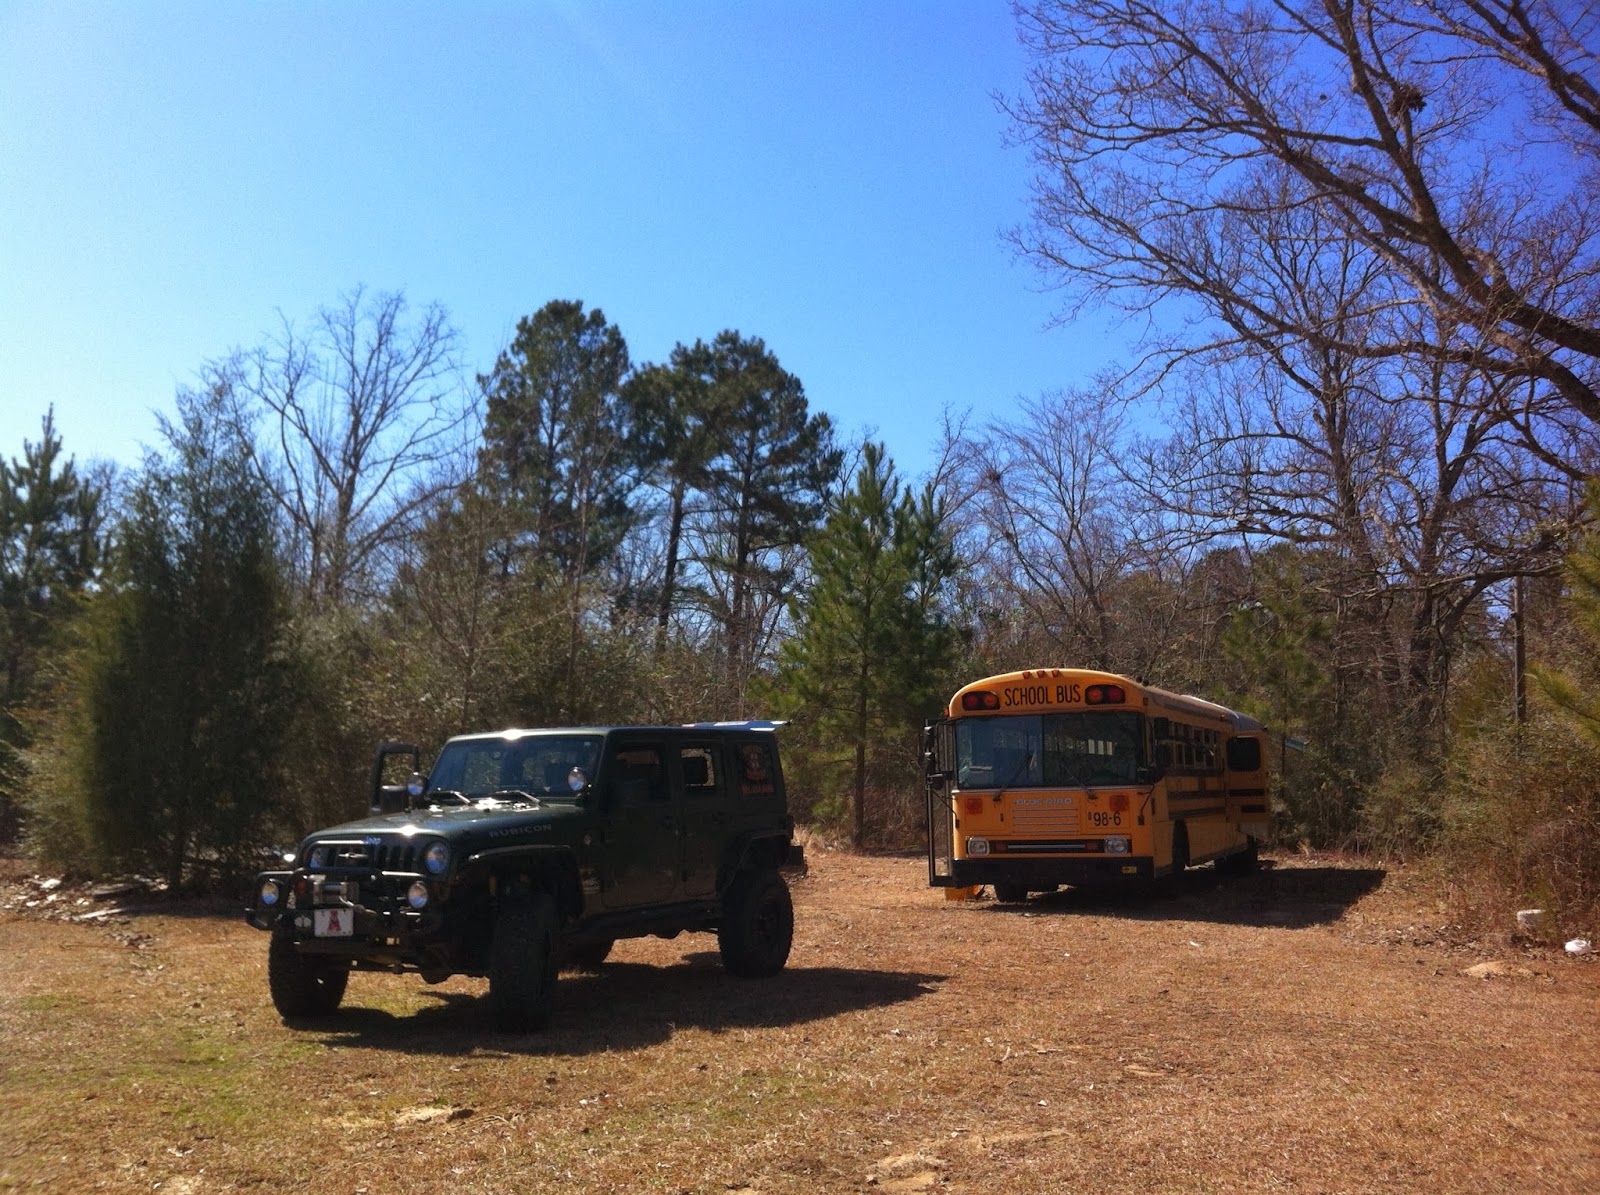
both big rigs

the worksite..


One of my favorite parts of working out at my grandparents' property...

…Getting to go through PawPaw's Shop for tools & supplies (a favorite plunder-place of my childhood!)


Wednesday, February 5, 2014

Pullin up floors!


So, as soon as we got those seats out of the bus and the vinyl floors up, we knew that the plywood floorboards all need to be replaced.  The first step in that process was to get all of that wet, rotten wood OUT OF THERE!  All of work day 3 was spent doing just that, and believe me, it was no easy task!  Very physical work.  We started by removing screws both with a regular screw driver and a battery drill.  Even pulled out the angle-grinder to try and cut through the more stubborn ones, but quickly realized that it wasn't cutting through the wet wood, so we had to pull the wood over them.  With both of us using pry bars, and A LOT of elbow grease, we finally got it all cleared out.  Just in time to clean up & get home for the Super Bowl!

Robbie using pry bar and 2 lb sledge hammer


Work Day 4:  We decided that before we could go any farther, we needed to remove the floor heater in the back of the bus.  This also meant re-routing the radiator hoses (we will later run new ones UNDER the bus from the rear-engine to the front heater).  This job turned out to be WAAAAY messier than I anticipated.  Robbie was prepared and much less freaked out by the bright green Antifreeze gushing out onto the floors.


At top of pic, notice a very hard to reach set of hoses to be disconnected...


Which equals lots of running Antifreeze...
Loop #1 complete..


Pretty sure we're gonna have some Ninja Turtles waiting for us when we return


Floor heater in the back of the bus...

…got to go!

Loop #2 in the rear of the bus

Hoses came up through the floor...
…through these large holes..


Robbie hammered them closed


Finally, with all of that cleared out and cleaned up (including all of the garbage and wood that was stuck under the heater), we were able to get back to the floor.  The metal is pretty rusty, but there aren't any weak spots or holes, so we're really happy about that.
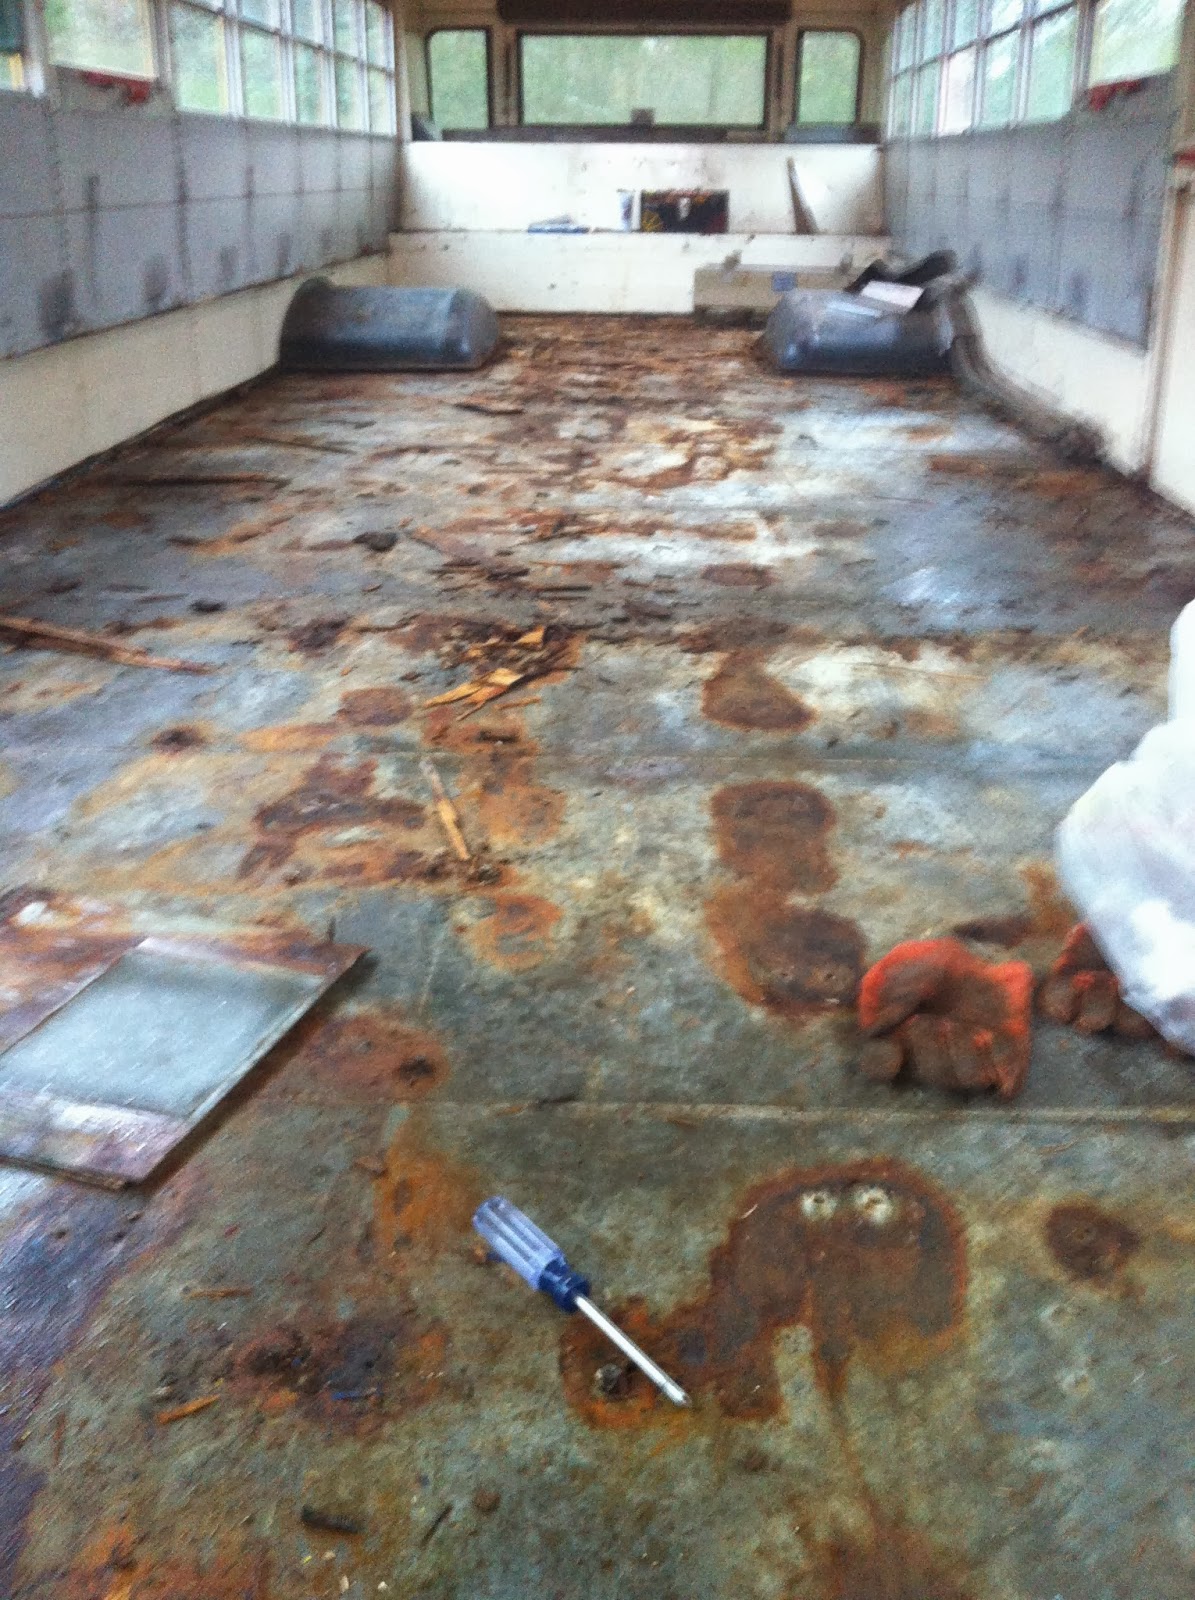


The rest of the day was spent with Robbie on the angle-grinder, taking down the rest of those stubborn screws that were not coming out of the floor, and I on a second angle-grinder with a wire wheel, clearing the rust out.  Definitely reminiscent of my rust-busting days as a Deck Seaman in the Navy.

His sweat was STEAMING off of him during this task

Sailor Brandi busting that rust


So ends work days 3 and 4.  Next weekend, we will finish "busting" the rust and start treating the metal with a coating of Ospho (a chemical that causes a reaction to stop any remaining rust).  There are a couple of spots that seem to be letting water in, we are going to try to find and fix those.. We will also caulk everything that needs caulking.. We'll see what we actually get done!

Monday, February 3, 2014

This weekend we got up the old rotten plywood. The screws were mostly stripped or rusted in place. We had to pull the wood up by pulling the screws through. This was very physical.  With all the wood out, now the screws have to be cut and the rusty floor has to be treated with ospho (rust neutralizer) and sealed up.
We then removed the rear heater core. The rubber hoses were dry rotted to the fittings. We had to cut them, butcher them really. This made quite a green anti freeze mess, everywhere. I looped the heater hose back on itself. This is temporary, I will run new radiator pipe under the bus.
The floor was in good to fair condition. It is very sturdy. I am very happy with the condition of the floor/deck.
Next on the list is to treat the rust, fill the holes, prime/cote the deck, insulate with sheet insulation, and deck with plywood.
Some of the removed radiator pipe.
Pictures soon. See you guys next week.
This is the temporary bypass of the heater. I will re run new hose under the bus.


Some of the holes we have to seal, and some rust to bust.

A good sailor bustin rust. Rosey would be proud.


Look to the far left side of pic. That is the deck with the rust ground off.